
So, August is drawing to a close and although I love summer, I couldn’t be happier for the following reasons: 1. The days are already getting shorter and I find the darker evenings are more chilled and relaxed. 2. The roads are back to normal after the influx of tourists. 3. My month-long clean eating is drawing to a close and although I feel great, have lost some weight and I will be carrying on eating cleaner and healthier than before, I also can’t wait to include some honey/maple syrup in my diet and most importantly quinoa and legumes, which I love. Lentil soup on 1st September, here I come 🙂
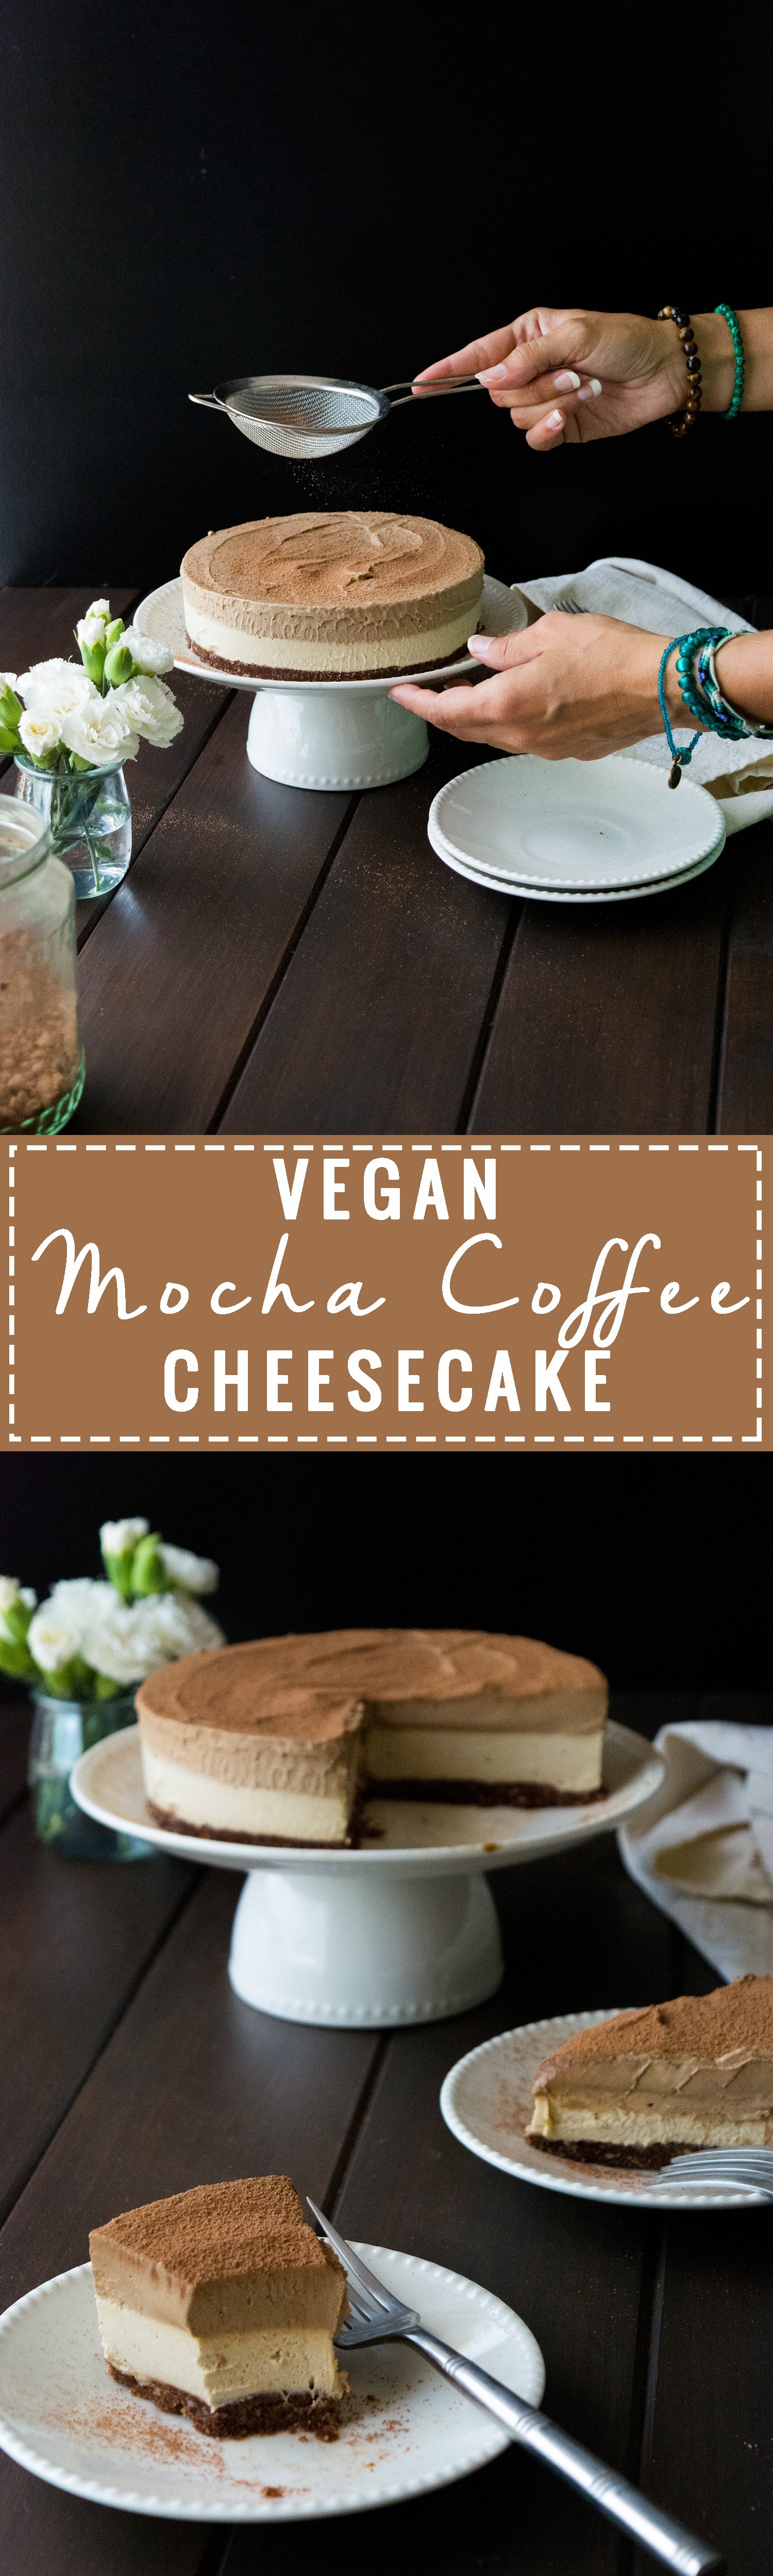
Since we’ve had a whole month of clean low-carb, refined sugar-free and gluten-free recipes, I thought it would be only fitting to finish off with a fantastically healthy and delicious dessert. So, without further ado, I present to you my Vegan Mocha Coffee Cheesecake. Which is also raw, refined sugar-free and gluten-free. I’m sure you’ll make veeeeery good friends 🙂
This is a variation of my Vegan Raspberry Swirl Cheesecake and if you haven’t tried making vegan cheesecake out of cashews yet, please do! You’ll be hooked and already dreaming of variations at the first bite. It is light, creamy, slightly acidic, not overly sweet and so so good.
I have substituted the maple syrup with homemade date paste, so it is so healthy you could theoretically have it for breakfast (I might or might not have had the last piece for mine yesterday…)
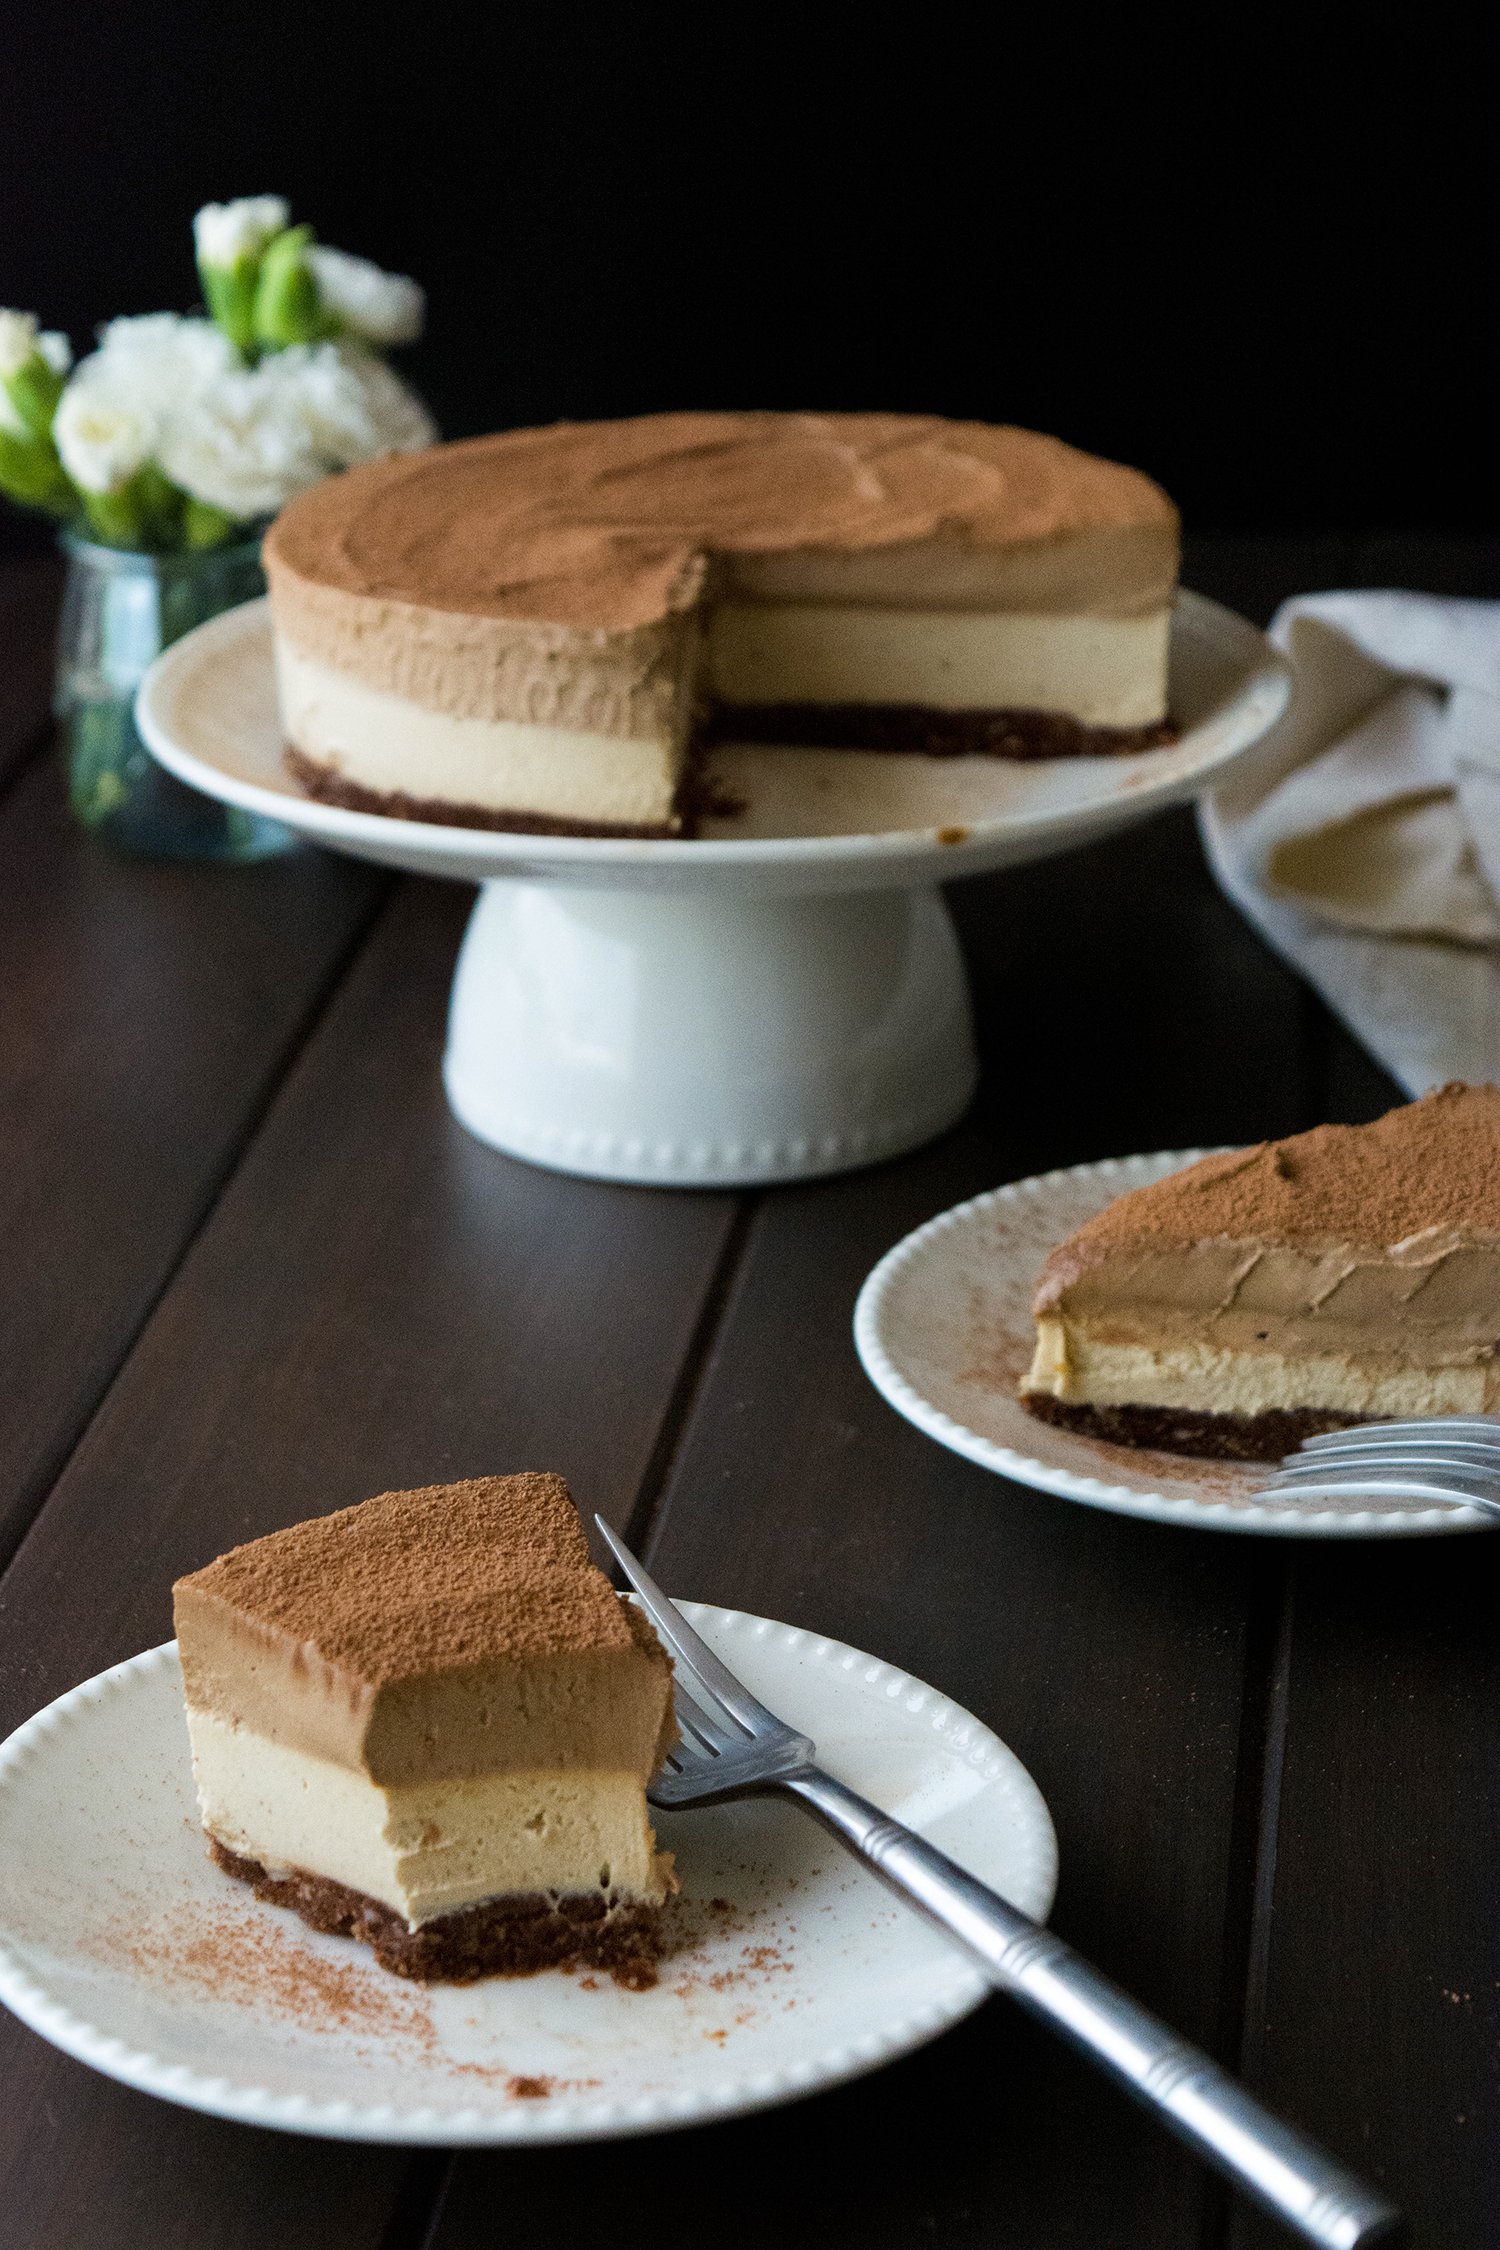
I also added some raw cacao into the crust, to make it more “chocolatey” and I divided the filling into 2 halves, leaving one as it is and adding the instant coffee and cacao into the other half.
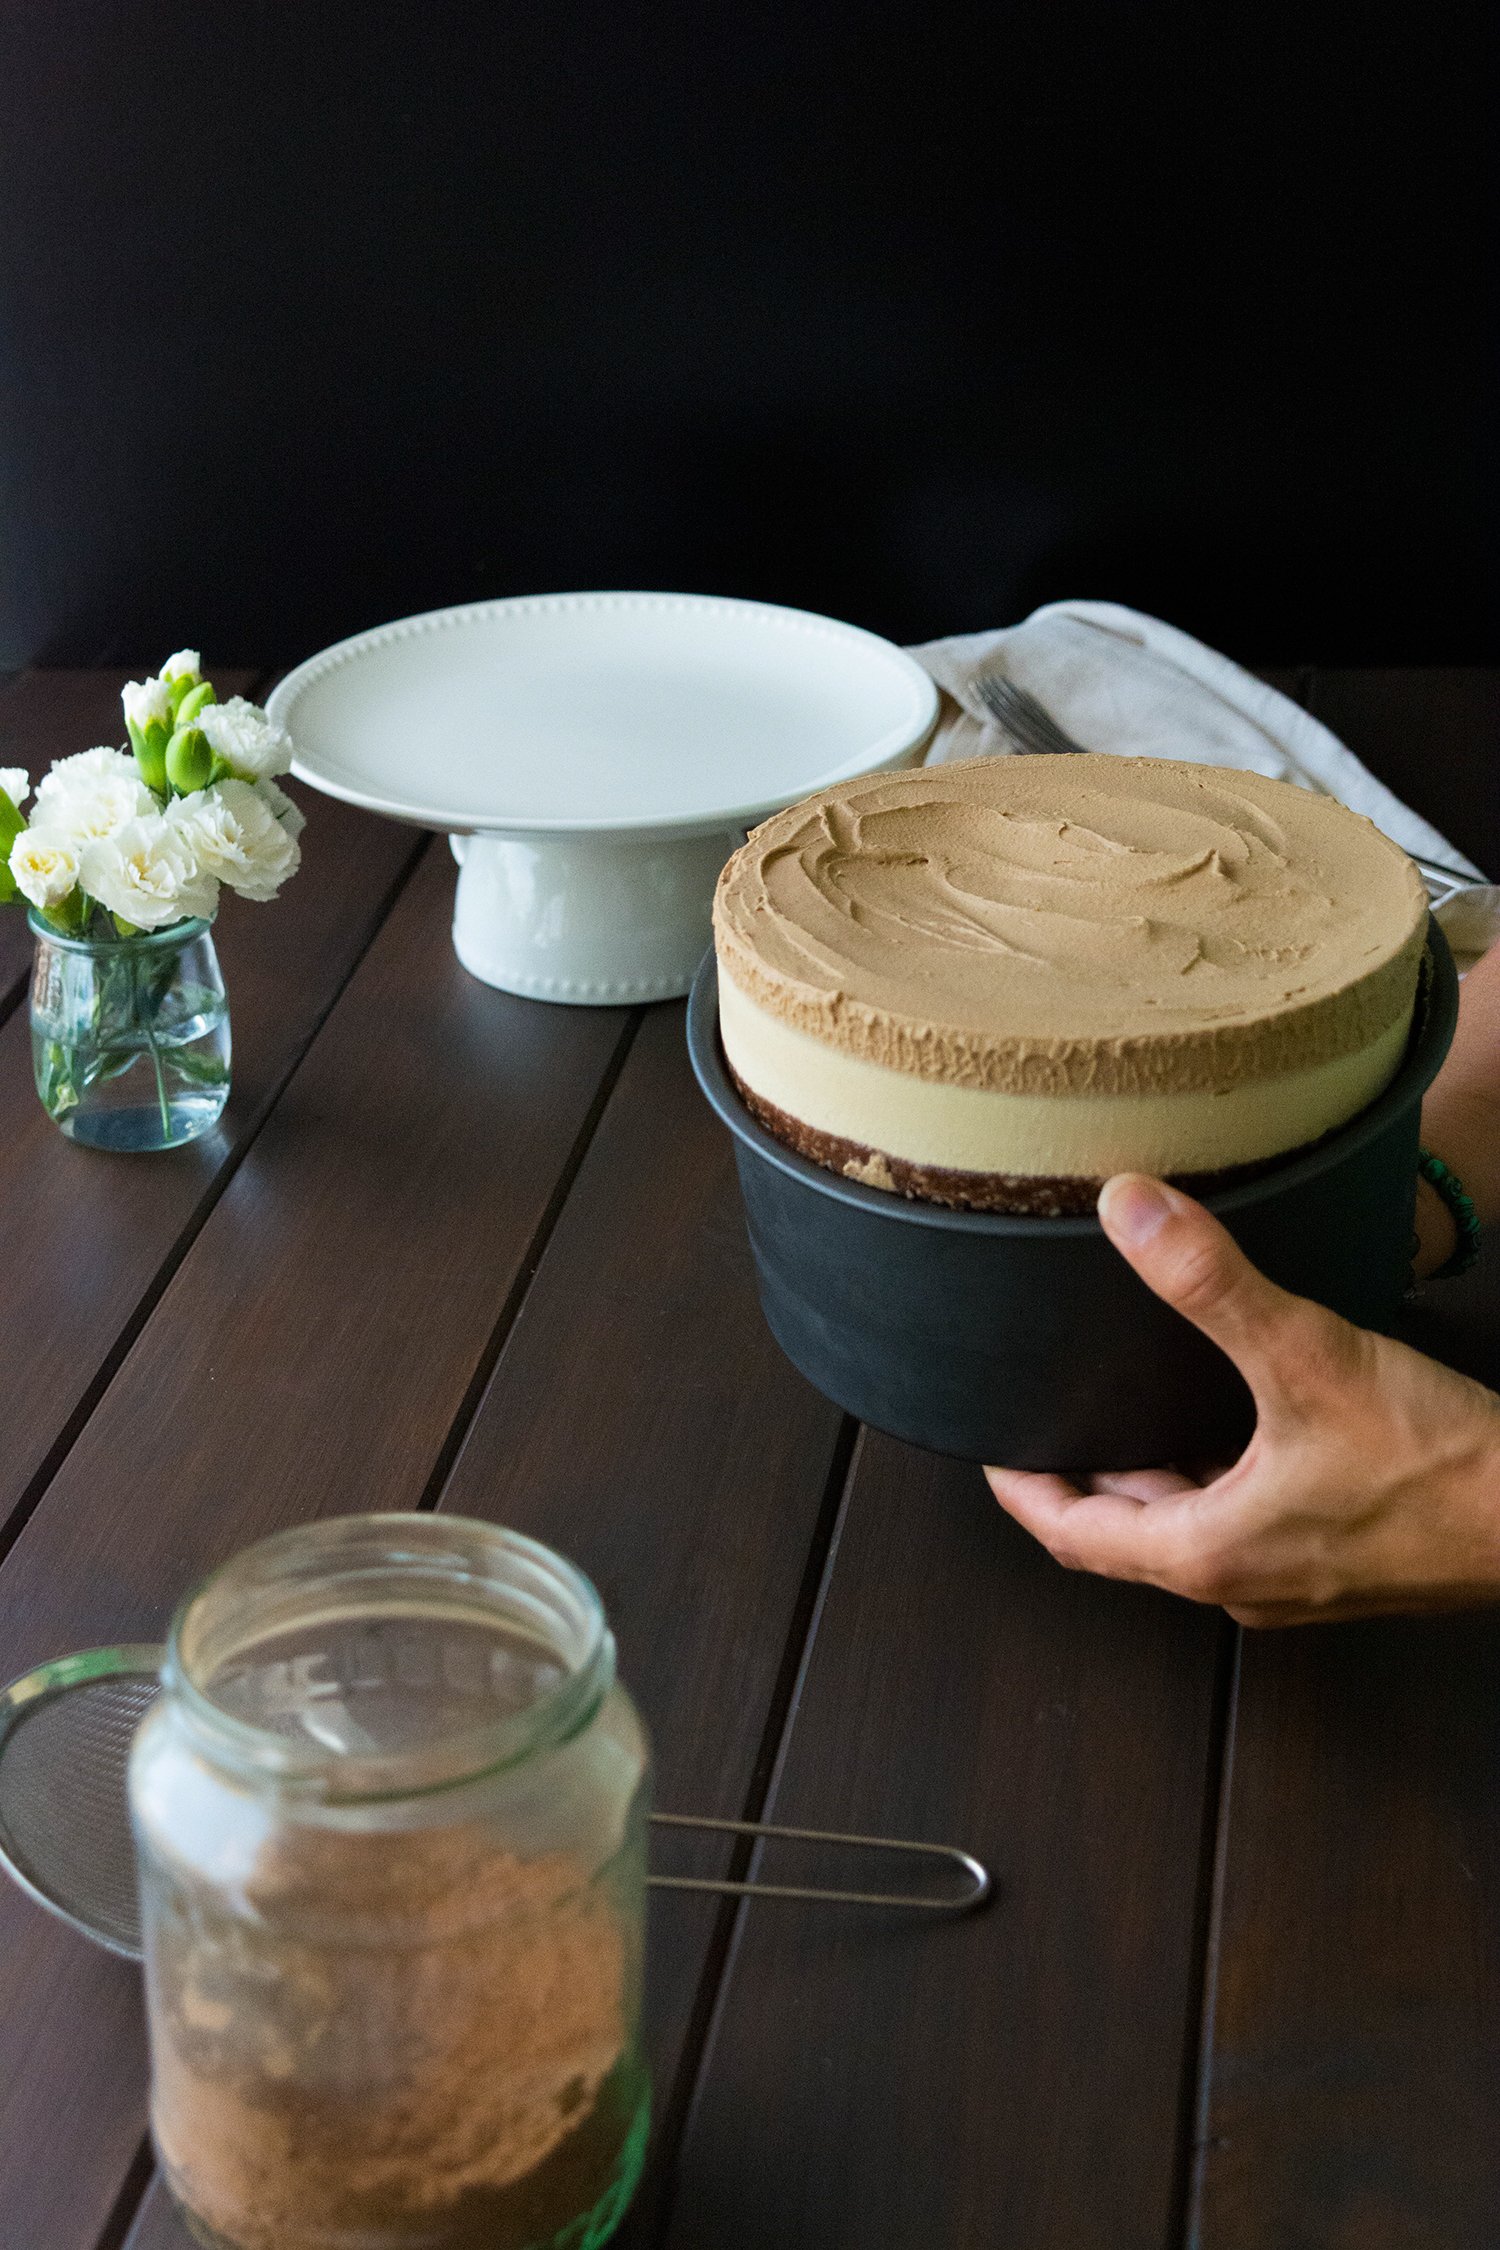
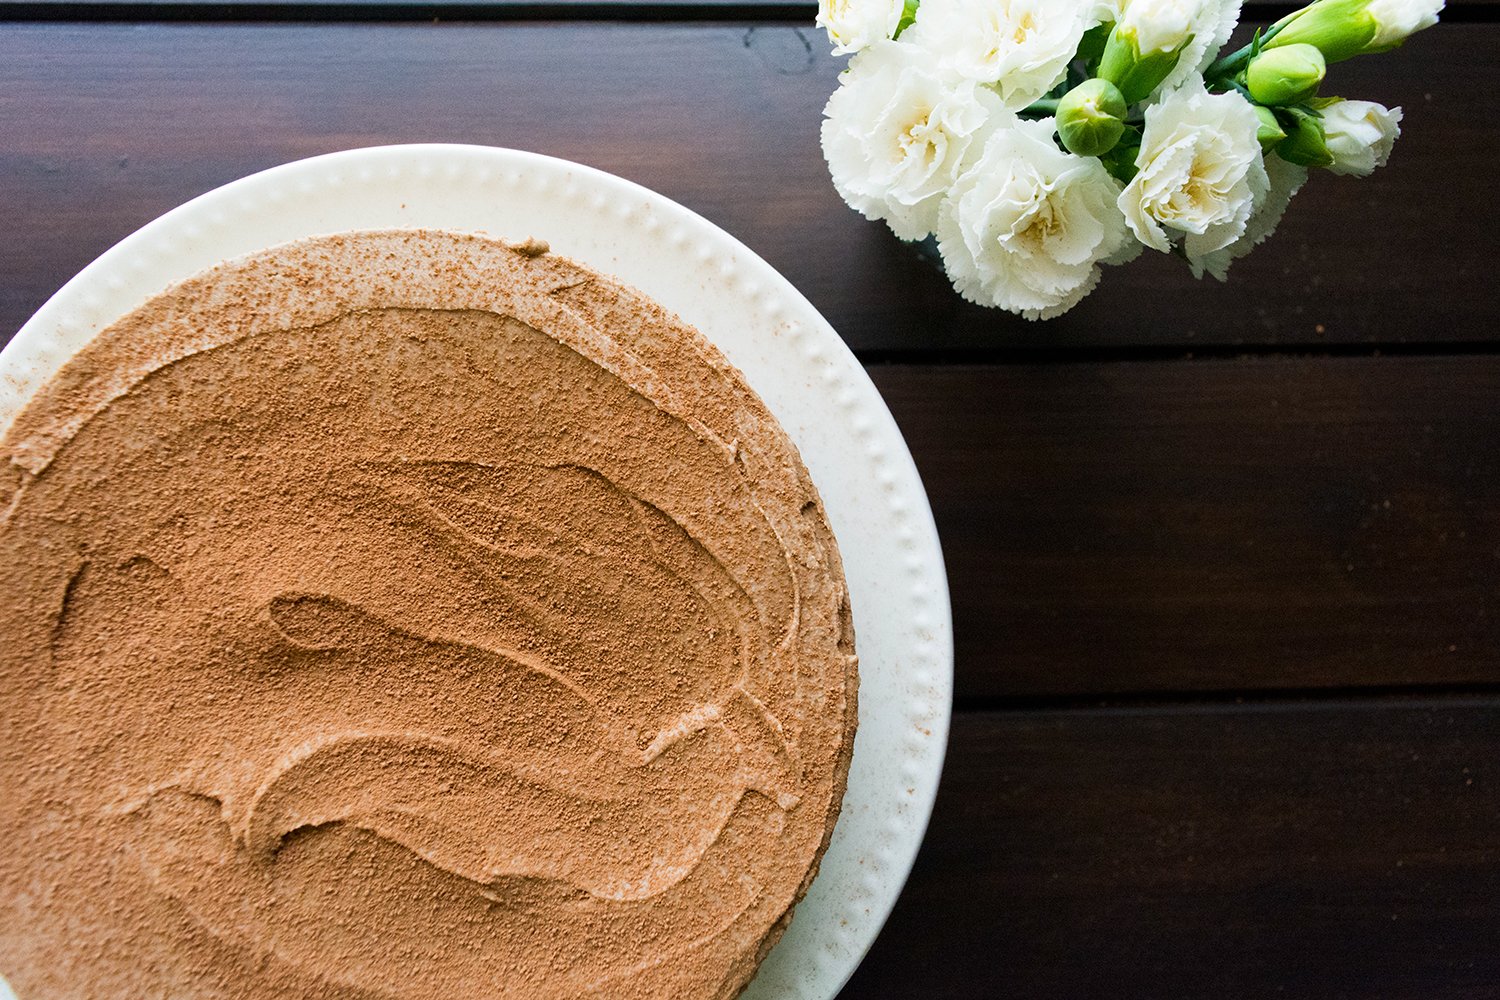
A sprinkle of cacao on the top and it’s ready to dive into.
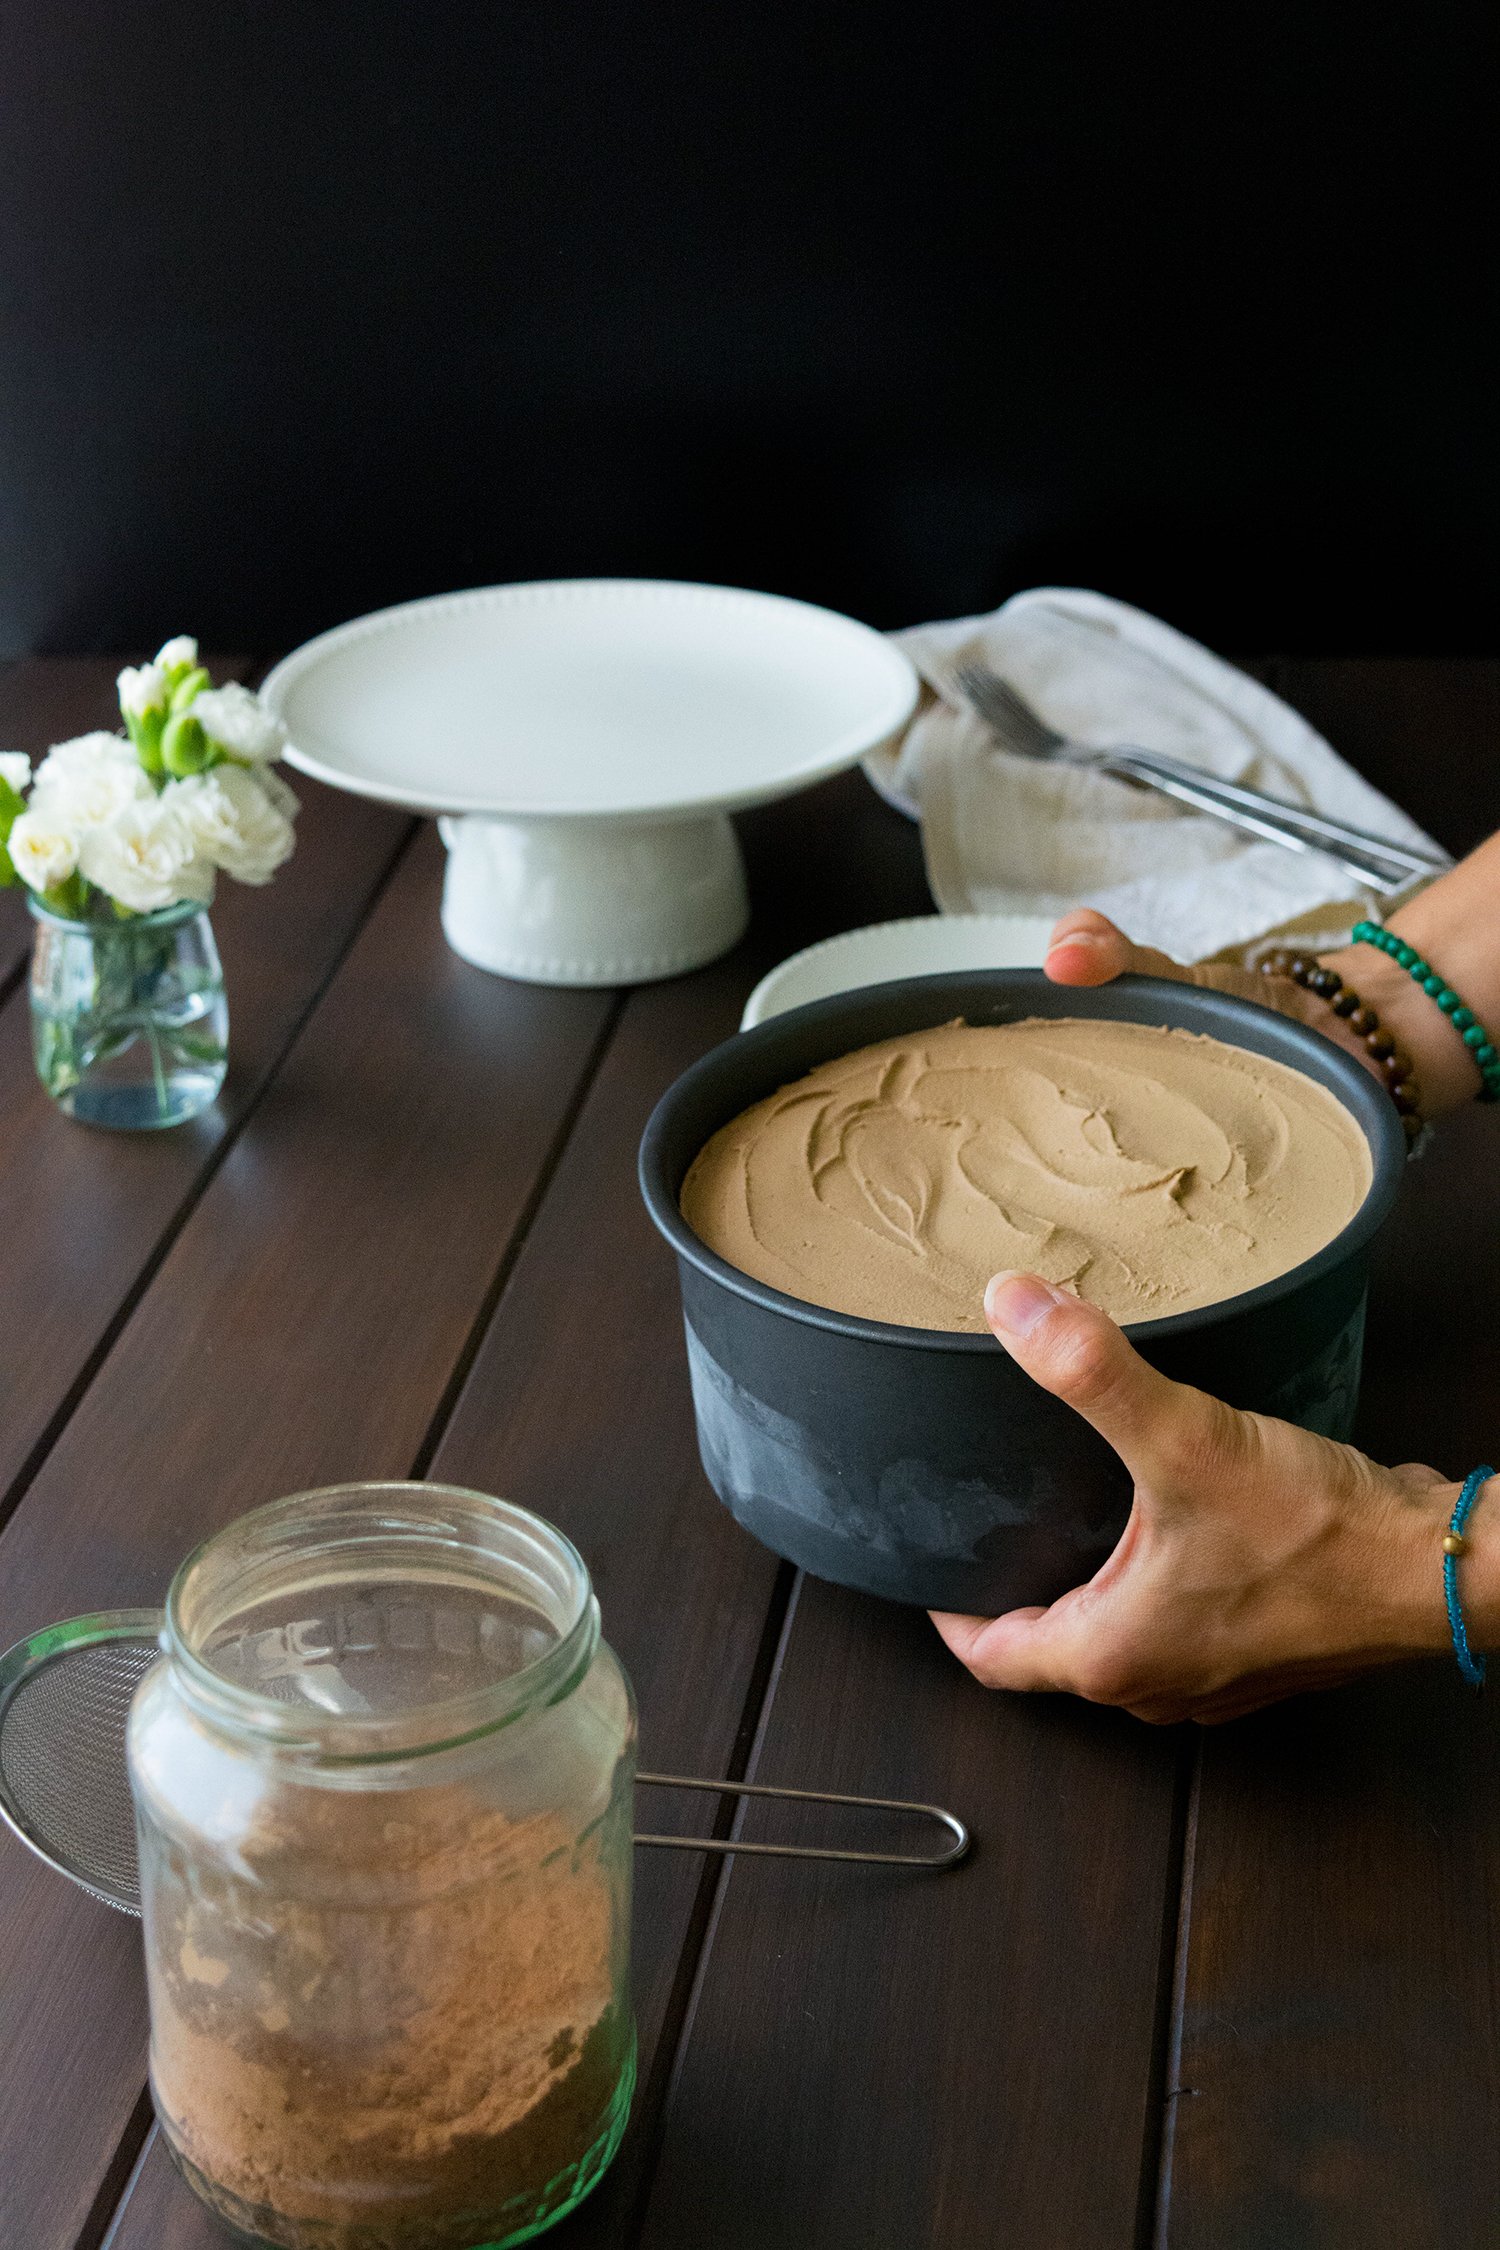
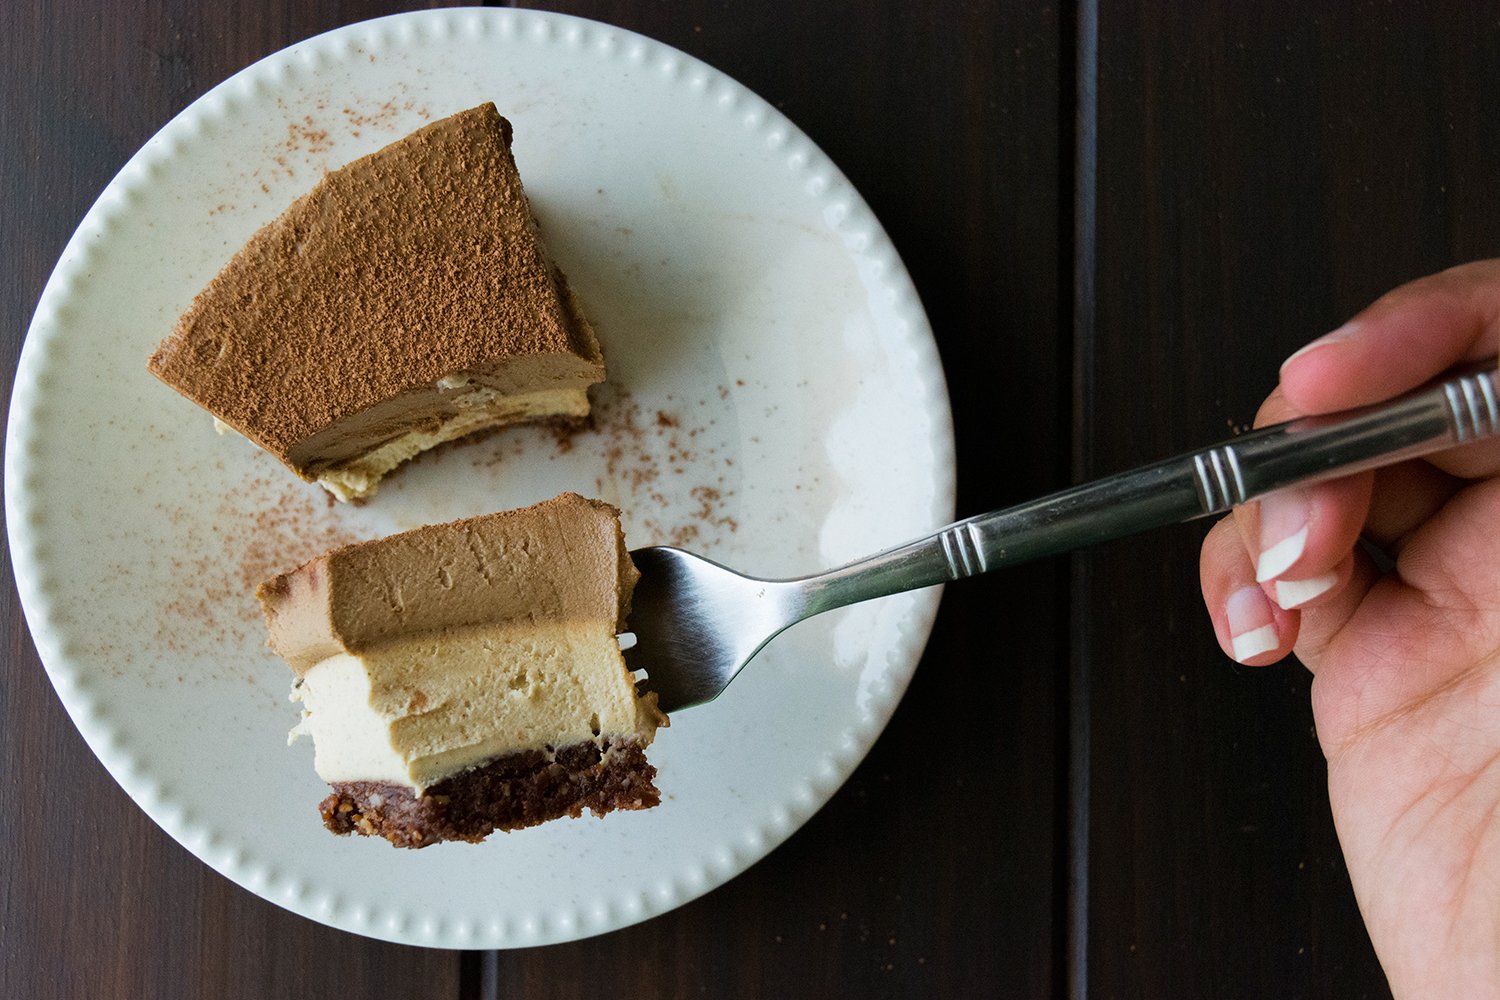
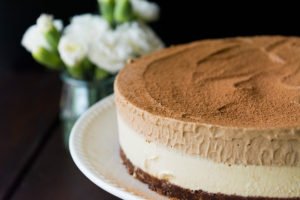
Just look at those layers, beautiful!
And the autumn colours… love…
Autumn, I’m waiting for you with open arms.
- 1 cup pitted dates
- 1/2 cup raw almonds
- 1/2 cup walnuts
- 2 tablespoons raw cacao
- 2 tablespoons coconut oil, melted
- 3/4 cup pitted dates, soaked for 2 - 4 hours
- 10 tablespoons warm water
- 1 1/2 cup cashews, soaked for 4 - 8 hours
- juice of 1/2 lemon (about 1/8 cup)
- 1/2 cup coconut oil
- 3/4 cup coconut milk (chill the can in the fridge for a few hours, then take the creamy part off the top)
- 1 tablespoon raw cacao
- 2 - 3 tablespoons instant coffee (depending on how intense you want the coffee flavour to be)
- Start with the crust - put the almonds, walnuts, dates, coconut oil and cacao into your food processor or blender and whizz until very finely minced. Then press well into the cheesecake pan (with removable bottom, if you have one - it will make getting it out a breeze!)
- For the filling, let's start with the homemade date paste. Put the drained dates into the blender and add warm water tablespoon by tablespoon until you have a smooth paste (my dates needed 10 tablespoons, but this may vary on the type of dates you're using and how long they've been soaked for).
- Rest of the filling - drain the cashews and add them to the date paste in the blender along with lemon juice, coconut oil and creamy coconut milk. Whizz together in the blender until silky smooth (mine took about 3 - 4 minutes).
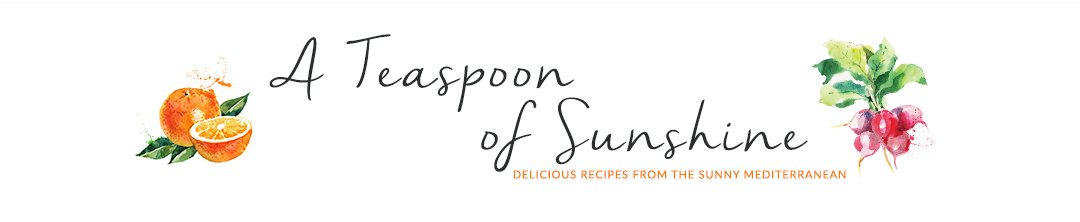
- Pour half of the filling onto the crust and put in the freezer for 15 - 20 minutes. Add the cacao and instant coffee into the remaining half of the filling and blend well.
- Once the first layer has solidified a little bit, pour the coffee half of the filling on top of it and return to the freezer. Let it set for about 2 hours.
- Just before serving, finish off with a light dusting of cacao.
- If you don't have 4 - 8 hours to soak the cashews, you can speed the process by covering them with boiling water and soaking them for 1 hour. The same goes for the dates.
- If you’re serving the cheesecake straight away, take out 10 minutes before. If you’re serving it a day or two later, leave it in the freezer and then take out and leave in the fridge a few hours beforehand.
- The instant coffee amount depends on the brand of your coffee and also on how intense you would like your coffee flavour to be.


8 Comments
Vypadá úžasne, až sa slinky zbiehajú. Keď by si ma ponúkla, neodmietnem :). A musím pochváliť nielen tento recept, ale celý blog – je krásny, recepty na zahryznutie a foto nádherné. Len tak ďalej, držím palce 🙂
Diky maminka, ked pridem domov budeme varit a piect opreteky 🙂
Hi-What size springform pan did you use for this? Will these proportions work with a 9″ pan? Thank you!
Hi Violeta! Thanks for stopping by 🙂 I used an 8″ pan, so just slightly smaller. Your layers might be a little bit thinner, but the proportions will still work. I hope you enjoy!
Great, thank you!! Looks amazing-can’t wait to make it!! 🙂 xo
Hi! Making this now! I see coconut oil listed as an ingredient for the crust, but don’t see it in the crust instructions. Do I need to add melted coconut oil to the crust? Thank you!!!! 🙂
Well spotted 🙂 I had missed that out, but have amended it now so it’s included in the instructions too. Thanks!
Great, thanks. I made the cake–it’s still chilling. I didn’t use the coconut oil because the crust consistency seemed good and I wasn’t sure what to do. Do you think it’s ok without it? I’m nervous, it’s for a very special event and I want it to be on point! Also, it’s really short/the layers are super thin. I used an 8″ springform per your note. It doesn’t seem right-are you sure you didn’t use a 6″ or something smaller than 8″? Otherwise, looks amazing–!! :))